Keep up with the boss
Sign up for our occasional newsletter for updates on products, news, and more!
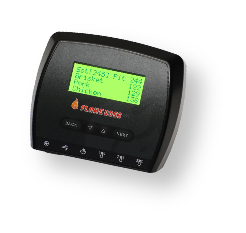
It is important for the safety of persons to follow these instructions. Save these instructions. Follow all instructions, as incorrect installation and use can lead to injury or property damage. Flame Boss 500 is intended for use only in dry, outdoor locations. Store the unit indoors in a dry location. If you know or suspect that the Flame Boss controller or power adapter has been exposed to excessive moisture or rain or was submerged in water, do not use the unit. The 12 V DC power to the unit shall be supplied by a properly certified power adapter with SELV / LPS output. Use only the power adapter provided with the unit. Do not allow children to play with a Flame Boss 500. Keep away from children. Flame Boss 500 is not to be used by persons with reduced physical, sensory, or mental capabilities, or lack of experience and knowledge. Do not place or mount a Flame Boss 500 where it is exposed to excessive heat from the grill or smoker.
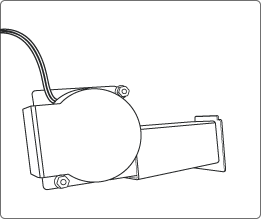
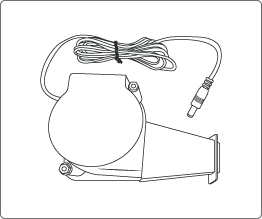
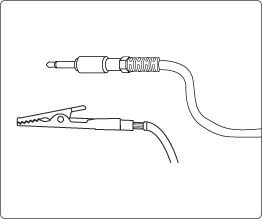
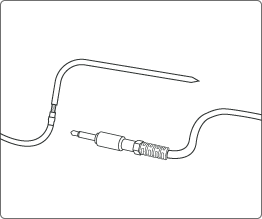
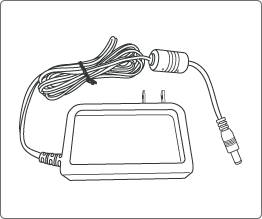


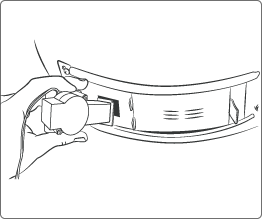


Flame Boss uses a variable-speed blower that runs at the best speed to reach and maintain the desired temperature of your smoker.
Flame Boss WiFi enabled devices will automatically install updated firmware when connected to the internet. To find an updated manual that might include new features, click the Manuals link in the mobile apps or go to www.flameboss.com/manuals.
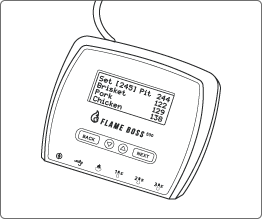
The Flame Boss 500 has the capability of monitoring 3 meats at a time as shown by Meat 1, Meat 2, & Meat 3. You can change the names of meat probes using our web and mobile apps.
The home screen shows the set temperature, pit temperature, and meat temperatures.
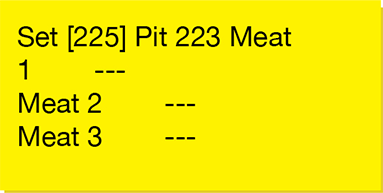
The set temperature is the desired cooking temperature for your smoker or grill. To change the set temperature, press the ↑ or ↓ buttons.
Pressing BACK several times will bring you back to the home screen. The controller will also go back to the home screen after 15 seconds of inactivity.
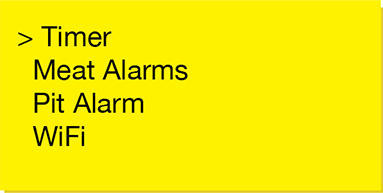
From the home screen, press NEXT to access the main menu. Press ↑ or ↓ to scroll through the features.
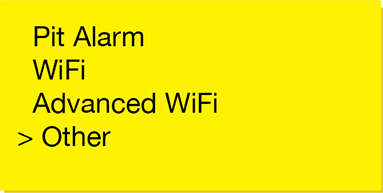
Press NEXT to enter a feature. Press BACK to return to the menu.
You can configure any setting that has [ ] brackets around it.
↑ or ↓ cycles through the different options or values of the setting.
NEXT saves the settings and moves the brackets to the next configurable setting.
BACK moves the brackets to the previous setting.

↑ or ↓ changes timer’s minutes and seconds.

↑ or ↓ turns timer On or Off.
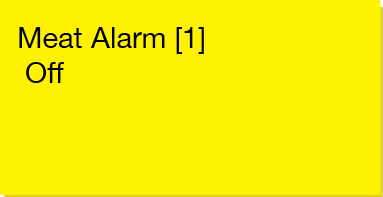
↑ or ↓ selects the meat alarm to configure.

↑ or ↓ turns the meat alarm mode to Off, On, or On + Keep Warm.

↑ or ↓ changes the desired meat done temperature when the mode is set to On.
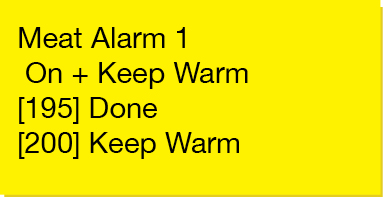
↑ or ↓ turns the meat alarm mode to Off, On, or On + Keep Warm.
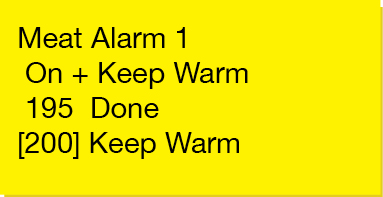
↑ or ↓ changes the keep warm temperature when the mode is set to On + Keep Warm.
The set temperature will automatically adjust to the keep warm temperature to keep food warm after it reaches the meat done temperature.

↑ or ↓ turns the pit alarm mode to Off or On.

↑ or ↓ changes the pit alarm temperature range.
If the pit temperature goes outside this range from the set temperature, the pit alarm will trigger.
To set your controller in Access Point Mode, follow the screens below:

↑ or ↓ toggles between Station and Access Point mode.
Select Access Point mode and press NEXT.
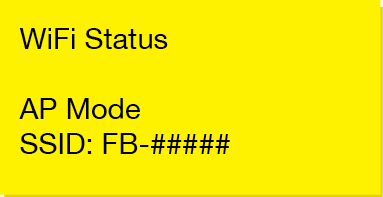
The controller will display this WiFi Status indicating the controller is in Access Point mode.
The numbers, #####, following the FB- is the controller’s device ID.
Ex: FB-32270 (This is the SSID and 32270 is the device ID)
* Refer to the “Downloading the Flame Boss Mobile App” section to download iOS or Android mobile app.
1. Using the mobile app, create a MyFlameBoss.com account and log in.
2. Once logged in, tap on the Controllers tab (2nd tab from the left) on the bottom of the app.
3. At the top of the Controllers tab, click the Add link and follow the steps shown.

↑ or ↓ toggles between Station and Access Point mode. Selection Station mode and press NEXT.

↑ or ↓ hides or unhides the pin in the online notice.
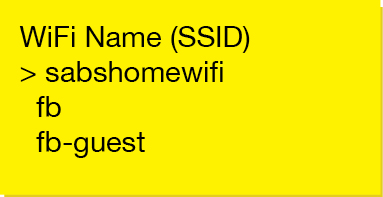
↑ or ↓ cycles through available local networks detected by the controller. Select your WiFi Name and press NEXT.
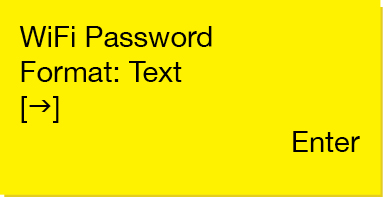
Press ↑ or ↓ to select a character. Press NEXT to save the character and move to the next position.
This will duplicate the last character. Press ↑ or ↓ to select the next character and press NEXT to save it and move to the next position. Repeat until all characters are entered.
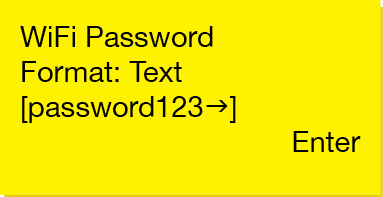
At the end of your password the last letter should be duplicated. Press ↑ or ↓ to select → (Enter) and press NEXT to save.
Note: If your WiFi network is using WEP security, change the format to Hex.

After saving your password, the controller will join your WiFi network.

Once connected, the display will show the ID & Pin of your controller.
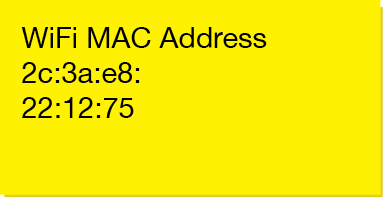
This screen displays the controller’s Station MAC Address.

OR
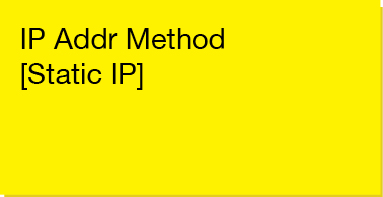
↑ or ↓ toggles between Auto (DHCP) and Static IP configuration.
**Auto (DHCP) is the default configuration.
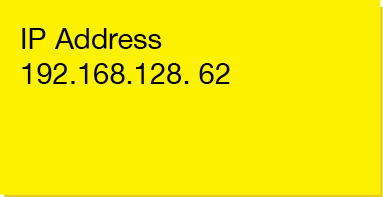
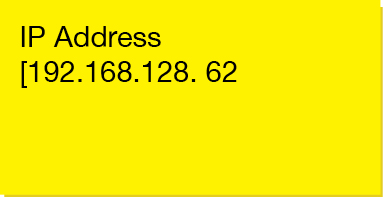
This screen displays the controller’s IP address when connected to a WiFi network.
↑ or ↓ changes each byte. NEXT moves to the next byte.
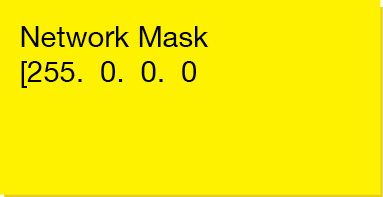
↑ or ↓ changes each byte. NEXT moves to the next byte.
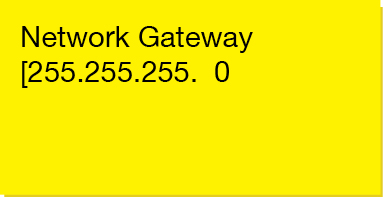
↑ or ↓ changes each byte. NEXT moves to the next byte.

After configuring the Static IP Address, the controller will join your WiFi network.

Once connected, the display will show the ID & Pin of your controller.
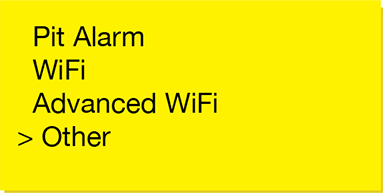
↑ or ↓ changes the type of sounds the controller makes.

↑ or ↓ changes the LCD contrast.

↑ or ↓ changes the maximum time the controller will stay in open pit mode (controller disables the blower to avoid over-stoking the fire).

↑ or ↓ changes the temperature scale.
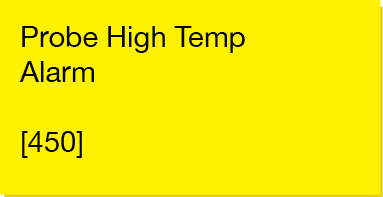
↑ or ↓ changes the maximum temperature allowed on a probe before the probe high temp alarm is triggered.
**Our probes are rated to 450˚F so this is the default.

This screen displays the current firmware version of your controller.

↑ or ↓ changes the type of sounds the controller makes.
Download the Amazon Alexa application for your mobile device and sign into your Amazon account. Go to “Skills” on the Alexa app to search and enable the Flame Boss skill or simply speak to your Alexa-enabled device and say “Alexa, enable Flame Boss.” Now you can use a variation of the following voice commands:
Download the Google Assistant or the Google Home application. Say a voice command using the Google Assistant app or simply speak to your Google Home using a variation of the following voice commands:
AVAILABLE IN FIRMWARE VERSIONS 4.0 AND ABOVE
To change modes, press the Mode link at the top of the Account tab.
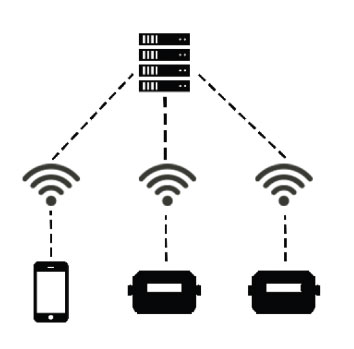
Your phone will connect to our server over the internet and you can view and manage any of your connected controllers. This mode has the most functionality including cook history and cook notes. If both your phone and controller have internet access, use this mode.
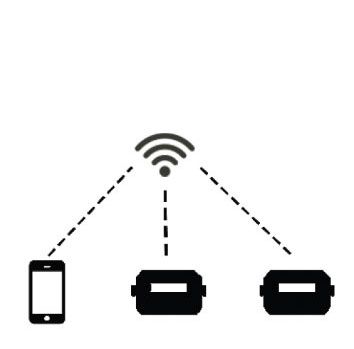
Your phone will detect any controllers on your local WiFi network. You can then connect to your controllers to view and manage them. History and Account pages are disabled for this mode. If you have a router with no internet access, use this mode.
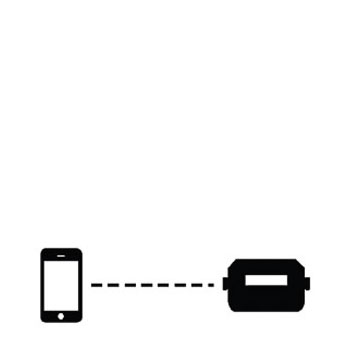
Your phone will connect directly to your controller so you can view and manage it. Using this mode requires the controller to be in Access Point mode. History and Account pages are disabled for this mode. If you don’t have a router, use this mode.